
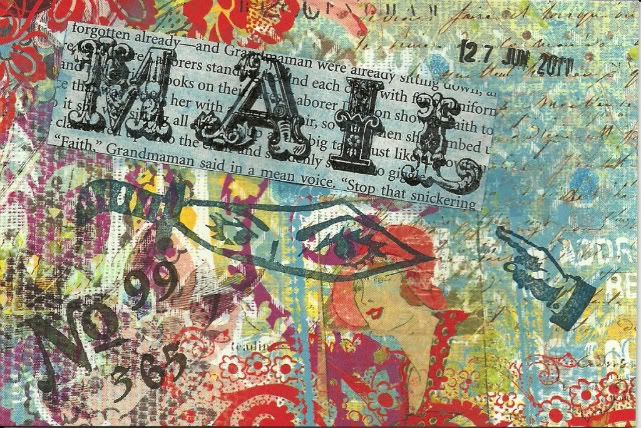
I came across a book about mail art. Good Mail Day is a great source. Also, International Union of Mail Artists website. I recommend checking them out if you are curious about mail art.

A couple of weeks ago I opened my box of mail art. I haven't touched it since before I moved. I had a stack of post cards that were never sent and a stack that needed response. It went quickly once I got started.

I cleared some space on my desk and set out different stamps and inks. I hope to stay on top it this time. I also got some addresses from Post Crossing. I picked up some great cards to send out last time I was in Banff.

Lets take a step back and look at the chaos of my crafting. Clothes to alter on ironing board, shirts to stencil on the table, mail art album plopped on top of that to be updated, and shirts to be fitted in a big pile. I got a lot on the go, I have also been sketching some jewelry displays that I hope to build soon.
Yep, big to do list and lots of ideas. Isn't that how it always is?
What projects are on your to do list?
- Posted using BlogPress from my iPhone


 To get this effect in my pages I squirt water colour paint directly onto the page, I used a large wet brush to spread it onto both pages. When I was happy with it I put a piece of wax paper in between the pages (to prevent sticking)Then continued with the next set of pages.
  This is the page with some stuff added. I ripped out pictures from magazines, pages of an old well read book and scrap book paper. I like the torn edges. Cut edges have a different effect, try both. I put gesso on the pictures lightly then went over the edges again. I used paint all over the page to blend it into the background. I set a dye cut onto the page and stencilled paint around it. I saved the cutout for a future project. I used pens and markers to highlight and trace areas. I even used my fingers to apply paint. Get into it, Get Messy!
 Here are some backgrounds I started that you can print and use in your art. I love the veiny look from the wax paper.


