Monday, December 30, 2013

2013

Review of My Year

I am very proud of my creations this year. I have learned a lot and grown as an artist. I made many mistakes, but far more accomplishments. Thank you everyone for supporting me in my art and creative expression. 

Here is a gallery of some of the pieces that I created in 2013. If the slideshow is slow please check out the whole picasa album.


I also teamed up with Kizzix Photography from Nottingham, UK to take some photos as well as shooting a few myself.


Steampunk Supplies


I am in constant search of supplies. Craft store, eBay and Etsy all have many steampunk supplies to search through and compare. There are many supplies that I have found and love at many price points. While shopping on eBay can be addicting I still love picking up and examining things in person at the craft store. 


Your Steampunk on Etsy


I recently ordered from YourSteamunk. Very awesome sale happening so I couldn't resist. Their supplies are well priced and come in many different styles. They are consistent in size and quality, which is something I wished for when the last grab bag of assorted watch parts was mostly screws, bits of glass and dust.


I am very excited about my purchase and I will update with photos soon.

2 Jan, 2014
I received my first order from MySteampunk. They are so perfect. I will post a picture of jewelry soon.


Thursday, December 26, 2013

Boxing Week Etsy Sale!

Use coupon code BOXING1 at checkout to get 25% off of your purchase!

Coupon is valid from Dec 26, 2013 to Jan 1, 2014


https://wwVisit my Etsy Shop


I hope your holidays are filled with great memories. Stay safe.


- Posted using BlogPress from my iPhone

Friday, November 22, 2013

Cthulhu Inspired

Etsy Shop

I am finally getting around to listing my current stock in my Etsy shop. Making a few treasuries and networking with other artists. Designing and creating are the easy parts, sitting down and getting it all online is another story. 


Treasury

See this Treasury

I have only made a few treasuries so far, I love it! Its a great way to network and show some other artists that you enjoy their work. Here is a link to my other treasuries

Do you have an Etsy shop? Put a link in the comments and I will feature you in my next treasury!


Tuesday, November 19, 2013

Orchid Pendant

Etsy Custom Order


I made this orchid pendant for an Etsy customer. I love talking to someone and making a piece just for them. I don't usually sculpt pieces because I tend to over work the clay, making it weird or having to start over. I actually felt really confident while working on this piece, I am very proud of how it turned out. 


I would love to get feedback. What do you think?


Saturday, November 16, 2013

Upcoming Markets

Kenora Craft Sale's


I have teamed up with Silver Aspirations and Creative Creature to sell my jewelry at various craft sales in Kenora, Ontario.  Please follow my Facebook page for dates and locations


Silver Aspirations Dream Catchers are handmade in Kenora. A variety of styles are available from traditional to more modern. They can be ordered in lots of colours and sizes then shipped world wide.


Creative Creature by Joy Parsons will be selling original artwork as well as note cards, magnets and prints. 


 Toronto Markets


My jewelry will also be available in Toronto. Flea Mrkt Cameras will be carrying my jewelry at Kensington Market at The Boat Retro Market. She will be selling high quality photo prints, canvas prints and vintage cameras. Visit and see her beautiful photography.


Etsy Shop

As always, there is a wide selection of pieces available in my shop. I ship world wide. 


Thursday, November 14, 2013

Steampunk Fashion

Steampunk Jewelry by Lady L


I was very happy to get together with my model friend Whitney Arnold to take some photos of the pieces I have completed. I was very happy with how it turned out considering that I used an Ott-Lite lamp and my point and shoot camera to take pictures in my basement hallway. 

Time Traveller's Dream Necklace

Steampunk Pocket Watch

Bird Skull Necklace

Silver Bat Neckalce

Legend of Cthluhu Necklace

All pieces can be made to order in any colour. Please feel free to contact me with any questions.


Wednesday, October 9, 2013

Featured!

CraftGossip.com


I am so excited about being featured on Craft Gossip! I have followed their site for years. They are always the first to share techniques that are trending in the online craft world. Their seasonal crafts are AMAZING as well. I highly recommend that you visit them. 


Visit Site


Saturday, October 5, 2013

Resin: Easy Cast

Videos and Tips on Working Safely with Resin


I personally work with "EasyCast" resin by Castin' Craft. It is simple to measure because it is half and half. There are other brands that use the same process. (Example: ICE Resin) 

My Tips

Work with resin in a space that is children, pet, and dust free. Cutting resin out of cat hair or sanding it off your flooring doesn't sound fun does it? If you are outside cover it with a plastic bin or shoebox to prevent bugs or dust getting in. 

I like to cover my workspace with newspaper. Layers of it. Then I wrap a piece of cardboard with wax paper and tape it on. I use that to place my (baked and cooled) clay pieces on while pouring resin. 

I use a popsicle stick to drip it onto my piece. (like in the second video) 

I wear safety glasses because I don't want a silly craft project mishap damaging my sight. (I even wear low magnifying glasses while sewing for the same reason)


Please read all of the safety information provided in the package. Do some research before starting. Use protective equipment and have adequate ventilation. You won't regret wearing an apron or safety glasses. 


Beadaholique

I am just going to share some awesome videos by Beadaholiqe. They are very clear and easy to follow.
I use a heat gun instead of a torch. She must have some crazy awesome table top to be able to torch it and not cover her workspace...

*Heat gun or hairdryer work fine. Craft heat guns are typically used for shrink wrap and embossing powders.


Another Great video on How to Apply Resin to Objects with Uneven Backs and Stamping Blanks.


Do you have any questions or need more tips? Please comment below and I will do my best.


Friday, October 4, 2013

How To Place a Custom Order

Designed Just for You


The polymer clay components that I use are handmade by me. I love making custom pieces and working with customers to create something beautiful. 

Usually I re-create one of my designs in a different colour or combine a few designs to make something new. Its a lot of fun when customers give me a simple description and let me design my interpretation of it. Colour, shape, size and length are the details I start with. 

I send lots of progress photos along the way to make sure that I am heading in the right direction. If not then I don't mind starting over.

It does not cost extra to order something custom made. It will be the same price I would sell it for in my shop. I make two pieces to pick from, if there are any changes then I make a third. If I still can't make what you are looking for I will have a longer more descriptive talk about it to try again to make it. 
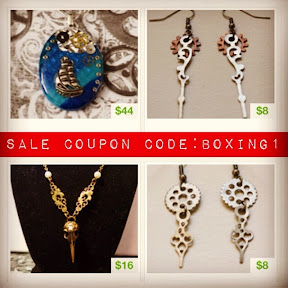

Example Order

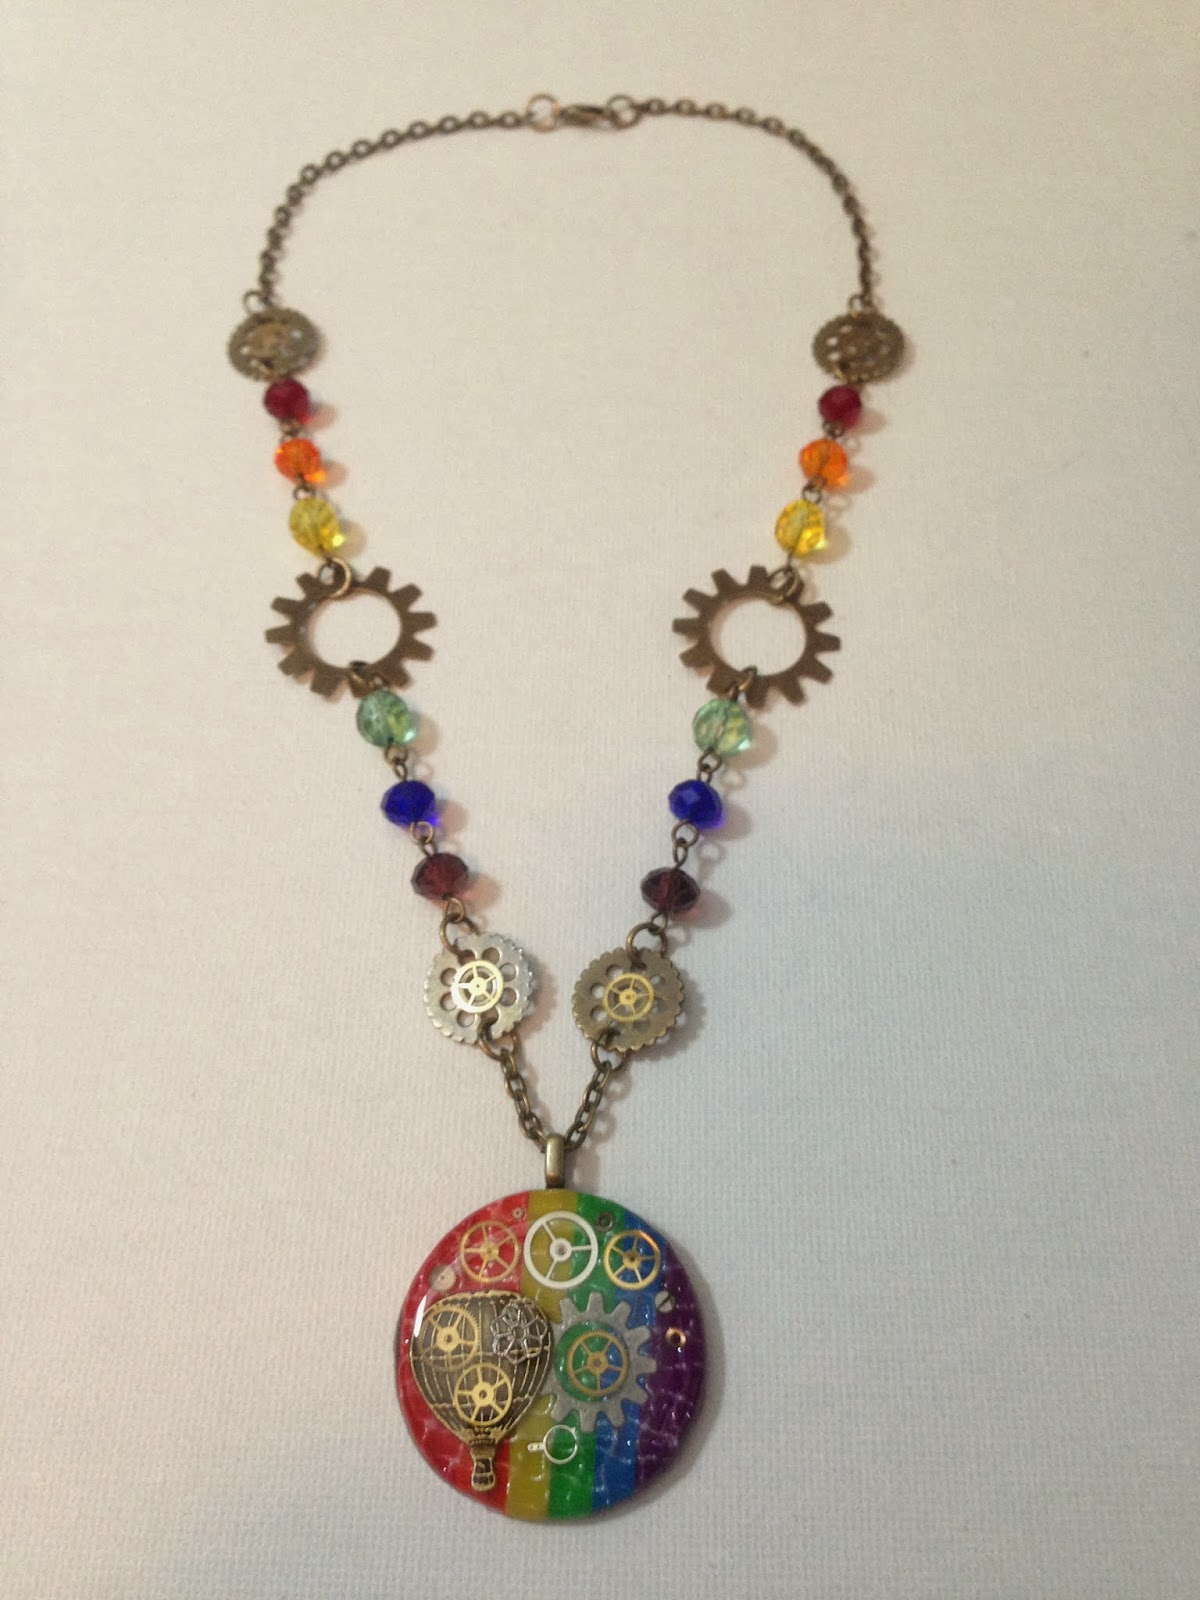
This customer wanted a "Time Traveller's Dream" necklace in rainbow. Why pick one colour when you can have them all? I had a lot of fun making this cheerful necklace. It really brightened up my workspace. These are the photos I shared with the customers for the orders. Expect similar update photos with your order.

Please note that it is very important to follow the instructions on the packages of everything you work with. Many supplies can be harmful to you or your children.


Tutorial


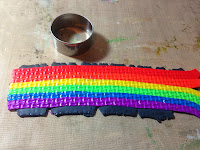
I started by getting my clay together. I didn't like the shade of orange I had so I mixed a new one. I rolled it out then used a texture sheet to give it some depth. I cut out my shape. This can be done with many tools, but after its used for clay it shouldn't be used for food. This is when I add glitter and mica powder. Some people use eyeshadow.


I add a variety of embellishments. Then I bake it following the instructions that came on the package. If some of your embellishments can't be backed then carefully pull them off or just decorate it after.
If you would like to order something that I do not have, I can order supplies in but it will add 15 days or more to complete. Also, price might increase if the supplies cost more than my original ones.


Once the pieces are cooled completely I cover them in 3 or more layers of resin. Take care to follow the directions, have protective equipment and lots of ventilation. Once the resin is cured I use E6000 glue to glue on a bail.

At this point in the process I ask the customer to choose one. If they aren't quite right I set them aside to finish later. I talk to the customer to see what changes need to be made and make another. 
Sometimes there is no right way to capture someone else's idea accurately and it might be time to move on. If there was a deposit taken then I refund it and hopefully they can find it by someone else.


I set out a variety of layouts and photograph it for the customer to choose from. Then I assemble it.
When I receive the rest of the payment I pack it up and mail it.


Exaple Two


In this case I was given a theme, which was gardening. I then received a colour scheme of purple, turquoise and green. I was also told the recipient loves birds. I was given complete creative control for the rest. 

Tutorial


First I mixed, swirled and cut my clay. I used a textured stamp and highlighted it with mica powder.
I had a variety of bird charms so I let the customer pick one. I trimmed off the loop and pressed it into the clay. I also accented it with silver beads. I baked it following the instructions.

Once cool I covered it with 5 layers of resin. I used more so the charm was completely encapsulated in resin.


I have some large leaf shaped charms so I decided to use alcohol inks to colour it. 
Once dry I sealed it with clear sealer.


I used E6000 to Glue the parts together, then glued a bail on the back.


I set out a few designs and she picked this lovely one. I put it together and packed it in a gift box.
It was a gift for her mother and I was informed that she loves it and wore it right away.